
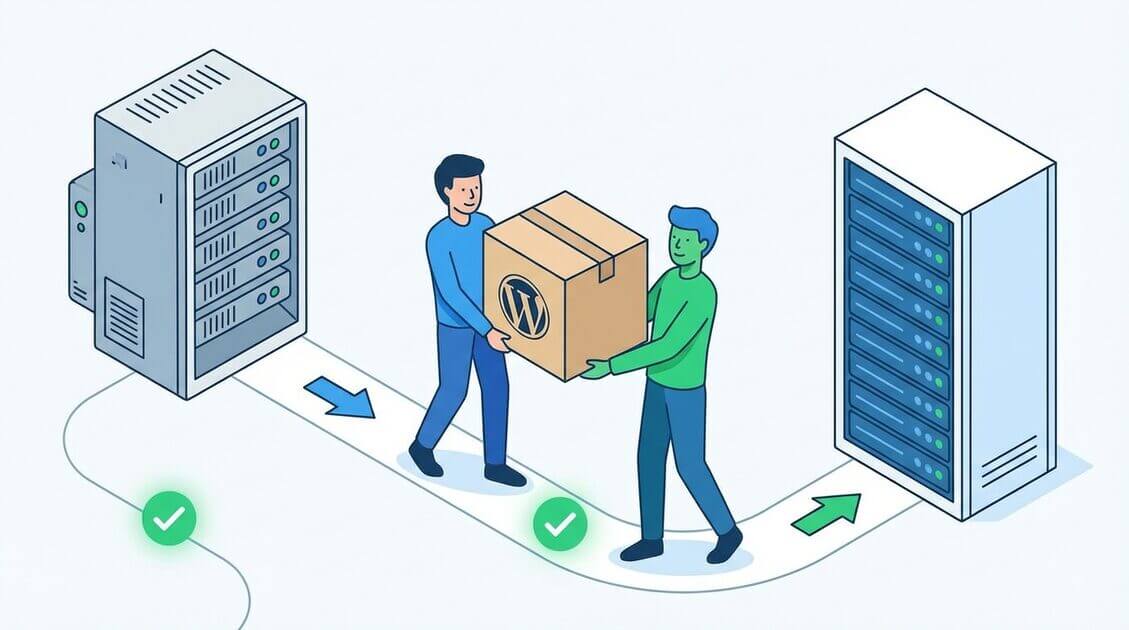
Are you feeling overwhelmed by the prospect of migrating your WordPress website to a new host or domain? This process can be a daunting task, especially if you’re not familiar with the technicalities involved in such a migration. In this article, we’ll guide you through the process of a painless migration using the All-in-One WP Migration plugin.
Introduction to the Challenges of Website Migration
Although website migration can be a time-consuming task, it’s often necessary to improve website performance, server response time, or update domain name. However, this process comes with significant challenges which can include the risk of losing data, domain authority, and overall website performance.
One of the biggest challenges of website migration is ensuring that all of the website’s content is transferred over to the new server or domain. This can be a daunting task, especially if your website has a large number of pages or if you have a lot of media files. It’s essential to have a solid plan in place to ensure that all of your content is transferred over accurately and efficiently.
During a migration, even minor errors such as changing permalinks or moving media files can have dire consequences for your website’s SEO and user-experience. In essence, website migration must be done with great care and attention to detail to ensure minimal disruption to website performance and search engine rankings.
Another challenge that website owners face during migration is the potential for downtime. This is the period during which your website is inaccessible to your audience. Downtime can be detrimental to your website’s reputation and can result in lost revenue. It’s essential to plan for downtime and ensure that it’s kept to a minimum.
Furthermore, website migration can also lead to broken links and other technical issues. These issues can negatively impact your website’s user-experience and can lead to a decrease in traffic. It’s essential to have a plan in place to identify and fix any technical issues that arise during migration.
In conclusion, website migration is a complex process that requires careful planning and execution. It’s essential to have a solid plan in place to ensure that all of your content is transferred over accurately and efficiently, to keep downtime to a minimum, and to identify and fix any technical issues that arise during migration. By taking these steps, you can ensure that your website migration is successful and that your website continues to perform at its best.
An Overview of All-in-One WP Migration
All-in-One WP Migration is a free, user-friendly plugin that makes migrating a WordPress website a breeze. This plugin offers a simple and intuitive way to transfer your website to a new domain or server without the risk of data loss or disruption of website performance.
One of the best things about All-in-One WP Migration is that it is incredibly easy to use. Even if you have never migrated a website before, you can use this plugin to move your site to a new location with ease. All you need to do is install the plugin, export your site, and then import it to the new location. It really is that simple!
But that’s not all. All-in-One WP Migration comes packed with several features that make it even more powerful. For example, the plugin allows you to skip or exclude files that you don’t want to migrate. This can be incredibly useful if you have large files that you don’t need to transfer to the new location.
Another great feature of All-in-One WP Migration is the ability to change file sizes. This means that you can compress your files to make them smaller and easier to transfer. This can be especially useful if you have a slow internet connection or limited bandwidth.
The plugin also makes handling databases incredibly easy. You can easily export your database and then import it to the new location. This ensures that all of your data is transferred correctly and that your website will continue to function as it should.
But perhaps one of the best features of All-in-One WP Migration is the ability to save migration settings and schedules. This means that you can set up your migration once and then use those same settings and schedules again and again. This makes migration a smooth and hassle-free experience.
In conclusion, All-in-One WP Migration is a powerful and user-friendly plugin that makes migrating a WordPress website incredibly easy. With its intuitive interface and powerful features, this plugin is a must-have for anyone who needs to move their website to a new location.
Step-by-Step Guide on using the Plugin for Website Migration
Are you planning to migrate your WordPress website to a new domain or server? The process can be daunting, but with the All-in-One WP Migration plugin, it’s a breeze. Here’s a comprehensive guide on how to use the plugin:
- Download and Install the All-in-One WP Migration Plugin: The first step is to download and install the plugin on your WordPress website. You can do this by going to the “Plugins” menu on your dashboard, clicking on “Add New,” and searching for “All-in-One WP Migration.” Once you find it, click on “Install Now,” and then “Activate.”
- Export Your Website Data: Once the plugin is installed and activated, you can start the migration process. Click on “All-in-One WP Migration” on the left-hand side of your dashboard and select “Export.” The plugin will then start exporting your website data, including posts, pages, media, and plugins. This process may take a few minutes, depending on the size of your website.
- Choose the “Export to” Option: Once the export process is complete, you need to choose the “Export to” option. You can export your website data to a file, Dropbox, Google Drive, or OneDrive. Select the preferred location and save the exported file.
- Install and Activate the All-in-One WP Migration Plugin on the New Domain or Server: To migrate your website to a new domain or server, you need to install and activate the All-in-One WP Migration plugin on the new domain or server. Follow the same process as in step 1 to install and activate the plugin.
- Select the “Import” Option and Upload the Exported File: Once the plugin is installed and activated on the new domain or server, click on “All-in-One WP Migration” and select “Import.” Upload the exported file that you saved in step 3. The plugin will then start importing your website data.
- Execute the Migration Process: The plugin will execute the migration process, and upon completion, your website should be up and running on your new domain or server. You may need to update your DNS records or change your WordPress settings to reflect the new domain or server.
That’s it! You have successfully migrated your WordPress website using the All-in-One WP Migration plugin. Remember to take a backup of your website before starting the migration process, and test your website thoroughly after the migration to ensure everything is working correctly.
Tips for Ensuring a Smooth Migration Process
Website migration can be a daunting task, but with proper planning and execution, it can be a smooth process. Here are some tips to consider:
- Backup your website: Before initiating the migration process, it is crucial to back up your website to avoid any data loss. You can use the plugin backup feature or a third-party backup tool to create a backup of your website. This backup will come in handy in case anything goes wrong during the migration process.
- Disable caching plugins: Caching plugins or tools can cause conflicts during the migration process. Therefore, it is essential to disable them before starting the migration process. This will help to avoid any issues that may arise due to caching.
- Check file permissions: It is important to check the file permissions on your new server before initiating the migration. This will ensure that you have the necessary permissions to upload files to the server and avoid any issues during the migration process.
- Ensure website is up-to-date: Before proceeding with the migration process, make sure that your website is up-to-date and has no existing errors. This will help to avoid any conflicts that may arise during the migration process.
- Test your website: After the migration process is complete, it is important to test your website to ensure that everything is running smoothly. This will help to identify any issues that may have arisen during the migration process and fix them before they become bigger problems.
- Update your DNS: Once the migration process is complete, it is important to update your DNS settings to point to the new server. This will ensure that your website is accessible to your visitors.
- Monitor your website: After the migration process is complete, it is important to monitor your website regularly to ensure that everything is running smoothly. This will help to identify any issues that may arise and fix them before they become bigger problems.
- Communicate with your visitors: If your website will be down for a period of time during the migration process, it is important to communicate with your visitors. Let them know when the website will be back up and provide them with any necessary information.
By following these tips, you can ensure that your website migration process goes smoothly and minimize any issues that may arise. Remember that proper planning and execution are key to a successful website migration.
Conclusion
Website migration can be a daunting task, but with the All-in-One WP Migration plugin, it’s a smooth and straightforward process. We’ve outlined the essential steps and tips to ensure a hassle-free migration experience.
Follow these steps carefully, and you’ll be well on your way to migrating your WordPress website like a pro. If you’re feeling overwhelmed or need assistance with a WordPress site migration, reach out to the experts at our website, and we’ll be happy to help you.
Want the full picture? Our complete guide to migrating WordPress to a new host covers DNS preparation, three migration methods (plugin, manual, and host-managed), pre-migration checklists, and a detailed post-migration verification process.
Running a WooCommerce store? E-commerce migrations require extra steps for payment gateways, order handling, and subscription continuity. Read our complete WooCommerce migration guide for a detailed walkthrough.
Managing a WordPress multisite network? Multisite migrations require handling network tables, domain mapping, and subsite configurations. Read our WordPress multisite migration guide for detailed instructions.
Something broken after migrating? White screen, 404 errors, missing images, or login loops are all common and fixable. See our guide to 15 common WordPress migration errors and how to fix them.